
Building a carpool web API with Django (part 8)
In part 7 of our series we looked at writing unit tests for our REST API. In this post we are going to look at making our API usable by non-web clients such as mobile apps and native desktop apps.
Our API is using session authentication at the moment which means we can only access it through a web browser where we have a login view through which we are authenticated. This is not very ideal as we want our API to be accessible from non-web clients such as Android and iOS apps as well. The Authentication section on the Django Rest Framework website provides many authentication methods one can use in their API. We are going to use token authentication as it allows us to authenticate our API requests from non-web clients. Let’s get started.
Some refactoring
Today when I looked at the project I was not very impressed with the way the code was organised. I then decided to remove the api.py module from the kapool_project package and created a separate api app. Inside your terminal, with pipenv activated, create a new app and call it api:
python manage.py startapp api
and add it to the list of installed apps inside your settings.py:
# kapool_project/setting.py

INSTALLED_APPS = [
    # ...
    'api.apps.ApiConfig',
]
Now inside your api directory add a new file routes.py and add the following code:
# api/routes.py

from rest_framework import routers
from users.views import UserViewSet
from places.views import PlaceViewSet
from vehicles.views import VehicleViewSet
from trips.views import TripViewSet

router = routers.DefaultRouter()
router.register('users', UserViewSet)
router.register('places', PlaceViewSet)
router.register('vehicles', VehicleViewSet)
router.register('trips', TripViewSet)
While you are still in the api directory create another file urls.py and add the following:
# api/urls.py

from django.urls import path, include

from .routes import router

urlpatterns = [
    path('', include(router.urls)),
    path('api-auth/', include('rest_framework.urls', namespace='rest_framework')),
]
Let’s now go to kapool_project/urls.py and refactor it to look like this:
# kapool_project/urls.py

from django.contrib import admin
from django.urls import path, include

urlpatterns = [
    path('admin/', admin.site.urls),
    path('api/v1/', include('api.urls')),
]
Our refactoring is done. You may run your server and you will see everything working fine.
django-rest-auth
We are going to use a third-party library, django-rest-auth, which provides a set of pre-configured endpoints for login, logout, registration and also supports social authentication. For more information on django-rest-auth visit this site. Let’s install this library:
pipenv install django-rest-auth
Now let’s go to our settings file and add the following to the list of installed apps:
# kapool_project/settings.py

INSTALLED_APPS = [
    # ...
    'rest_framework.authtoken',
    'rest_auth',
    # ...
]
While you’re still inside the settings file go to the REST_FRAMEWORK configuration section and add the following:
# kapool_project/settings.py

# ...

REST_FRAMEWORK = {
    'DEFAULT_AUTHENTICATION_CLASSES': [
        'rest_framework.authentication.TokenAuthentication',
        'rest_framework.authentication.SessionAuthentication',
    ],
    # ...
}
Run migrations in your terminal:
python manage.py migrate
Now let’s add the endpoints provided by django-rest-auth. Go to api/urls.py and add the following:
# api/urls.py

urlpatterns = [
    # ...
    path('rest-auth/', include('rest_auth.urls')),
]
We are done! Now run your server and go to http://localhost:8000/api/rest-auth/login/, add your credentials and press Post. You should get a token back like the one in the image below:
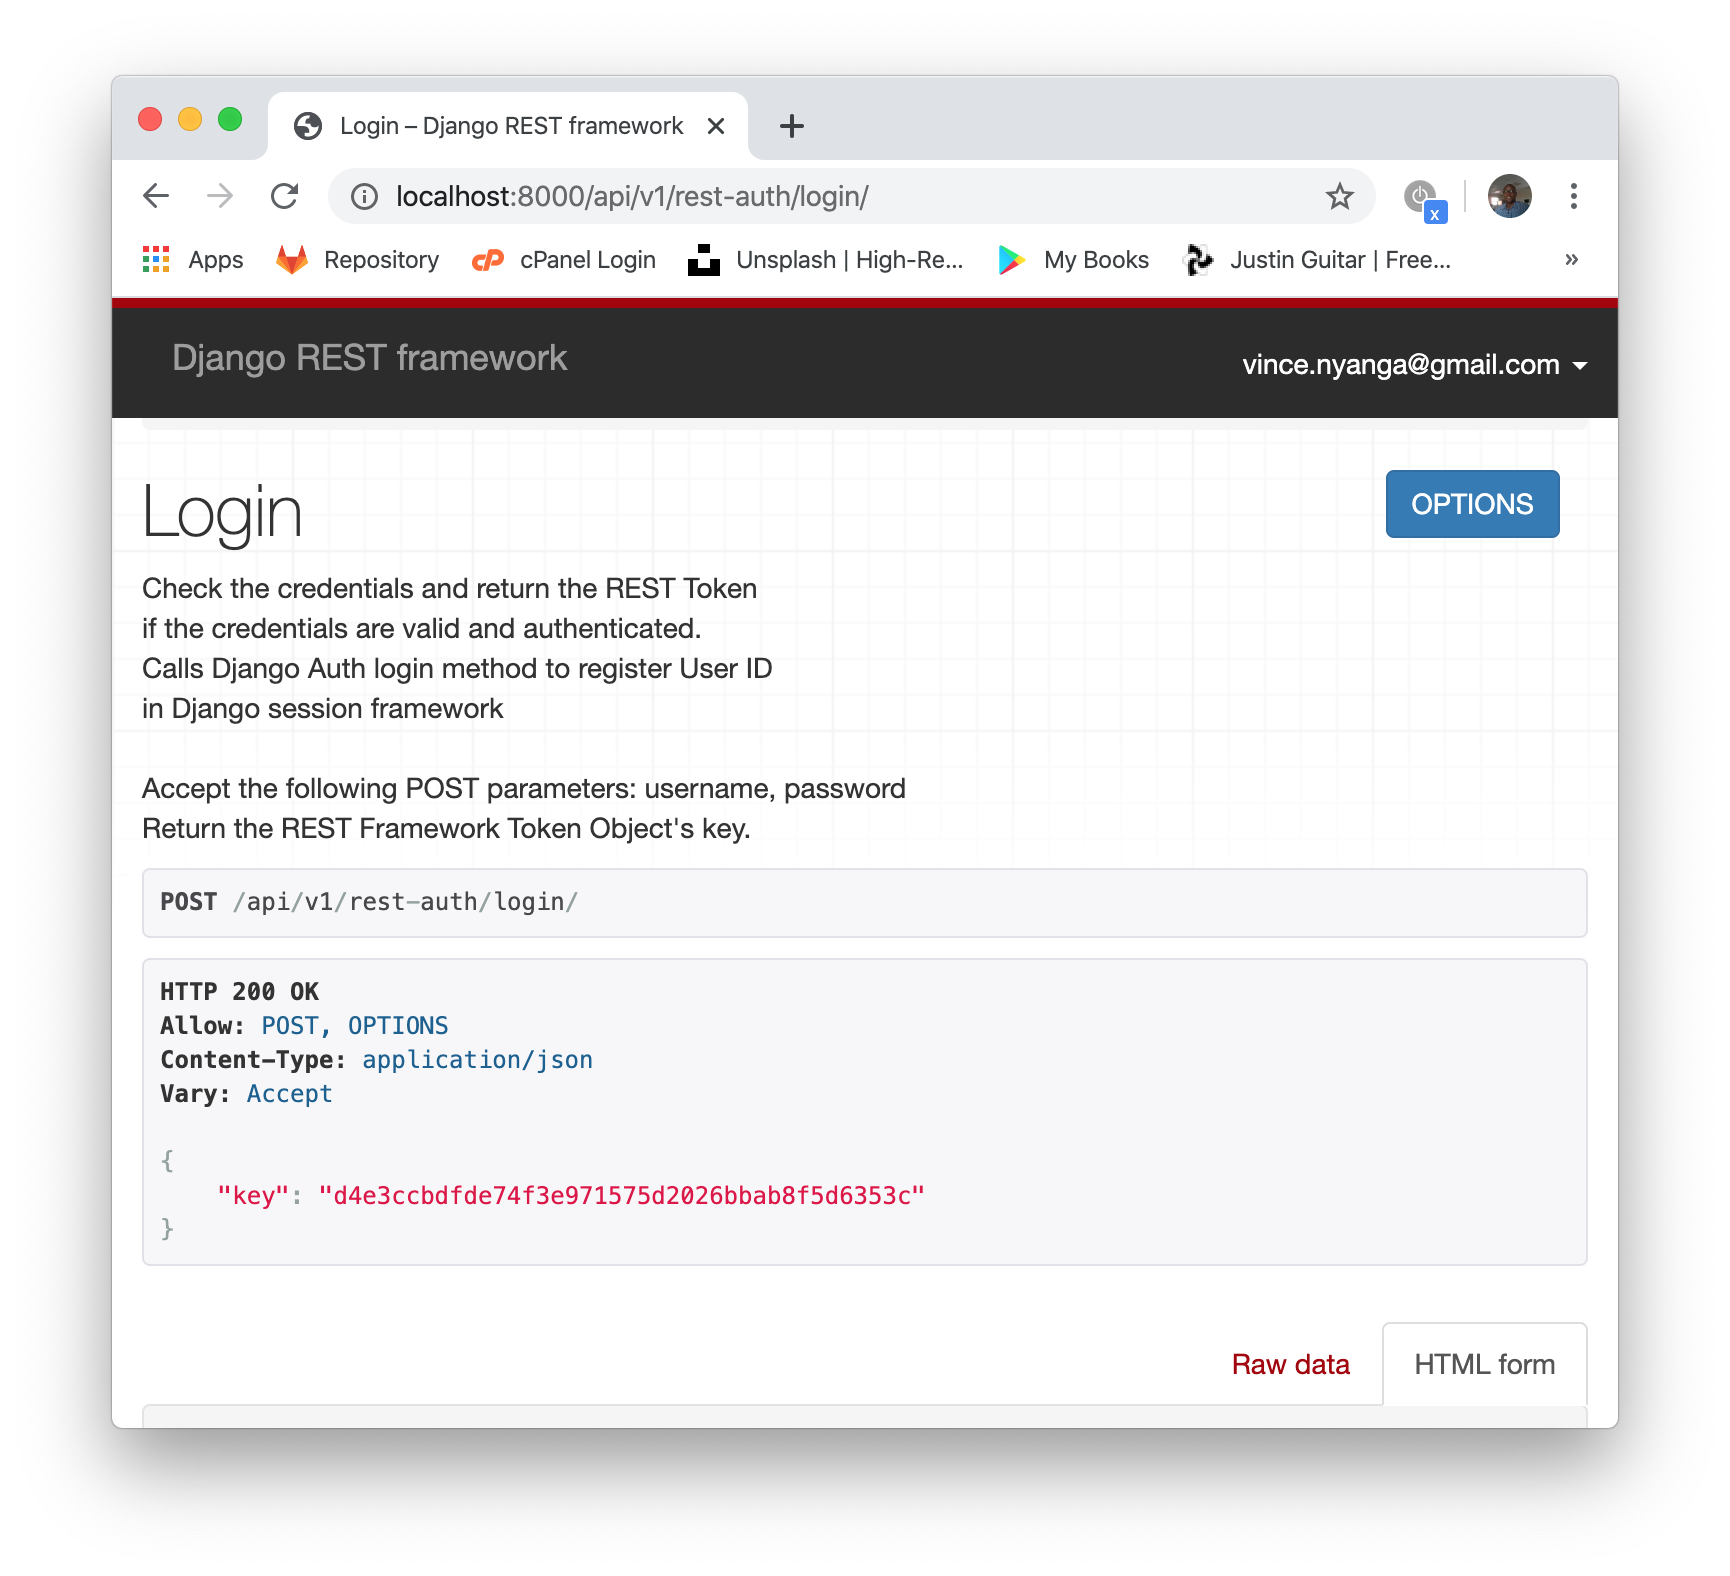
Now you can use this token to authenticate calls from non-web clients by adding the following header to your request:
Authorization: Token <your_token>
What did we do
In this post we added support for token authentication to our API so that we may be able to access it from non-web clients such as mobile applications. You can check the source code for the project on GitHub. Once again thanks for reading and stay tuned for more tutorials.
Comments