
Consuming HTTP Resources In Flutter
Almost every mobile app consumes HTTP resources one way or the other – fetching data from a web service, authenticating users and many more examples. In Flutter this is no different – your app is going to communicate to some service somewhere via HTTP. In this post we are going to talk about a package you can use in your Flutter application to consume HTTP resources – the http package.
The http package is an official, platform-independent, Dart package that contains a set of high-level functions that make it easy to consume HTTP resources. It is very intuitive and simple to use. Here are examples of how you can use the package to make HTTP requests:
import 'package:http/http.dart' as http;

class MyHttpService {
    MyHttpService({this.baseUrl});

    final String baseUrl;

    // GET
    Future<http.Response> getItems() {
        return http.get('$baseUrl/items/');
    }

    // POST
    Future<http.Response> addItem(Item item) {
        return http.post('$baseUrl/items/',
                          body: {'name': item.name, 'price': item.price});

    }

    // PUT
    Future<http.Response> updateItem(int id, String name, int price) {
        return http.put('$baseUrl/items/$id/',
                          body: {'name': name, 'price': price});
    }

    // DELETE
    Future<http.Response> deleteItem(int id) {
        return http.delete('$baseUrl/items/$id/');
    }


}
The above examples show how you can make various HTTP calls using the http package. As you may have noticed, http methods return Futures. In Dart, a Future object represents a potential value or error that will be available in the future. Since all HTTP calls are asynchronous, we make use of the Future class as we await the result that will come at a later stage.
Example
Let us now put the http package into use by creating a dummy application that utilises it. The application is going to consume resources from the JSONPlaceholder service – a fake online REST API used for testing and prototyping.
Posts Repository
Our example app will use the http package to fetch fake posts from the JSONPlaceholder API and display them in a list. We will focus on the use of the http package and the UI. The rest of the code (BLoCs etc) can be found on GitHub.
Let’s create a Flutter application and add the following dependencies to the pubsec.yaml file:
# pubsec.yaml

# ...

dependencies:
  # ...
  http: ^0.12.0+4
  bloc: ^3.0.0
  flutter_bloc: ^3.2.0
  equatable: ^1.1.0
# ...
Now let’s create our Post model. Inside the lib directory add another directory called models and add a file post.dart therein. Add the following code to the post.dart file:
// lib/models/post.dart

import 'package:meta/meta.dart';

class Post {
  final int id;
  final int userId;
  final String title;
  final String body;

  Post({@required this.id, @required this.userId, @required this.title, @required this.body});

  factory Post.fromJson(Map<String, dynamic> json){
    return Post(
      id: json['id'],
      userId: json['userId'],
      title: json['title'],
      body: json['body']
    );
  }

  @override
  String toString() =>
      'Post { id: $id, userId: $userId, title: $title, body: $body }';
}
We now need to create a PostRepository that will be responsible for fetching posts from our REST API. Inside the lib directory add repositories/posts/post_repository.dart to which you will add the following code:
// lib/repositories/posts/post_repository.dart

import 'dart:convert';

import 'package:http/http.dart' as http;
import '../../models/post.dart';

abstract class PostRepository {
  Future<List<Post>> getPosts();
}

class HttpPostRepository extends PostRepository {
  final String baseUrl;

  HttpPostRepository({this.baseUrl = 'https://jsonplaceholder.typicode.com'}) : assert(baseUrl != null);

  @override
  Future<List<Post>> getPosts() async {
    final response = await http.get('$baseUrl/posts');

    if (response.statusCode == 200) {
      final List<dynamic> postsJson = jsonDecode(response.body);
      return postsJson.map((json) => Post.fromJson(json)).toList();
    } else {
      throw Exception('Failed to load posts');
    }
  }
}
The HttpPostRepository, which extends an abstract PostRepository, fetches posts from our API as JSON, converts them to a List<Post> and returns the list. Note that the getPosts method returns a Future which means it is going to run asynchronously.
User Interface
Let’s now turn our attention to the UI. I have deliberately left out the code that implements the BLoC pattern for this app for brevity. Like I said earlier, you may check the complete project on GitHub. If you want to learn more about the BLoC pattern check out this post and this post.
Create a directory called pages and add posts_page.dart. Inside the posts_page.dart file, add the following code:
// lib/pages/posts_page.dart

import 'package:flutter/cupertino.dart';
import 'package:flutter/material.dart';
import 'package:flutter_bloc/flutter_bloc.dart';

import '../blocs/posts/post_bloc.dart';
import '../blocs/posts/post_state.dart';

class PostsPage extends StatelessWidget {
  @override
  Widget build(BuildContext context) {
    return CupertinoPageScaffold(
      child: BlocBuilder<PostsBloc, PostsState>(
        builder: (context, state) {
          if (state is PostsStateError) {
            return _buildErrorView(state);
          }

          if (state is PostsStateLoaded) {
            return _buildPostsView(state);
          }
          return _buildLoadingView();
        },
      ),
    );
  }

  Widget _buildErrorView(PostsStateError state) {
    final sliver = SliverList(
      delegate: SliverChildBuilderDelegate((context, index) {
        return Container(
          height: MediaQuery.of(context).size.height * .7,
          child: Center(
            child: Text(state.message),
          ),
        );
      }, childCount: 1),
    );
    return _buildFromBaseView(sliver);
  }

  Widget _buildPostsView(PostsStateLoaded state) {
    final sliver = SliverList(
      delegate: SliverChildBuilderDelegate((context, index) {
        final post = state.posts[index];
        return Column(
          crossAxisAlignment: CrossAxisAlignment.stretch,
          children: <Widget>[
            Material(
              color: Colors.transparent,
              child: ListTile(
                title: Text(
                  post.title,
                  softWrap: false,
                  overflow: TextOverflow.ellipsis,
                ),
                subtitle: Text(
                  post.body,
                  softWrap: false,
                  overflow: TextOverflow.ellipsis,
                ),
              ),
            ),
            if (index < state.posts.length - 1) // don't add divider to the last item
              Divider(
                color: Colors.grey,
              )
          ],
        );
      }, childCount: state.posts.length),
    );
    return _buildFromBaseView(sliver);
  }

  Widget _buildLoadingView() {
    final sliver = SliverList(
      delegate: SliverChildBuilderDelegate((context, index) {
        return Container(
            height: MediaQuery.of(context).size.height * .7,
            child: Center(
              child: CupertinoActivityIndicator(),
            ));
      }, childCount: 1),
    );
    return _buildFromBaseView(sliver);
  }

  Widget _buildFromBaseView(sliver) {
    return CustomScrollView(
      slivers: <Widget>[
        CupertinoSliverNavigationBar(
          largeTitle: Text('Posts'),
        ),
        SliverSafeArea(
          top: false,
          minimum: const EdgeInsets.all(8),
          sliver: sliver,
        )
      ],
    );
  }
}
Our PostsPage widget is a CupertinoPageScaffold, a widget in the cupertino package, that gives our page an iOS look-and-feel. We have also used a CustomScrollView with CupertinoSliverNavigationBar and SliverSafeArea. All this will give our page iOS behaviour when we scroll through the list of posts. We will talk more about Cupertino widgets and CustomScrollViews at a later stage but for now just trust that it will work.
Finally, let’s now go to main.dart and add the following code:
// lib/main.dart

import 'package:flutter/cupertino.dart';
import 'package:flutter/material.dart';
import 'package:flutter_bloc/flutter_bloc.dart';

import 'repository/posts/post_repository.dart';
import 'pages/posts_page.dart';
import 'blocs/posts/post_bloc.dart';
import 'blocs/posts/post_event.dart';

void main() => runApp(MyApp());

class MyApp extends StatelessWidget {
  @override
  Widget build(BuildContext context) {
    return CupertinoApp(
      title: 'My Posts',
      debugShowCheckedModeBanner: false,
      localizationsDelegates: [
        DefaultMaterialLocalizations.delegate,
        DefaultCupertinoLocalizations.delegate,
        DefaultWidgetsLocalizations.delegate,
      ],
      theme: CupertinoThemeData(
        primaryColor: Colors.purple
      ),
      home: BlocProvider<PostsBloc>(
        create: (context) => PostsBloc(HttpPostRepository())..add(PostsPageLoaded()),
        child: PostsPage(),
      ),
    );
  }
}
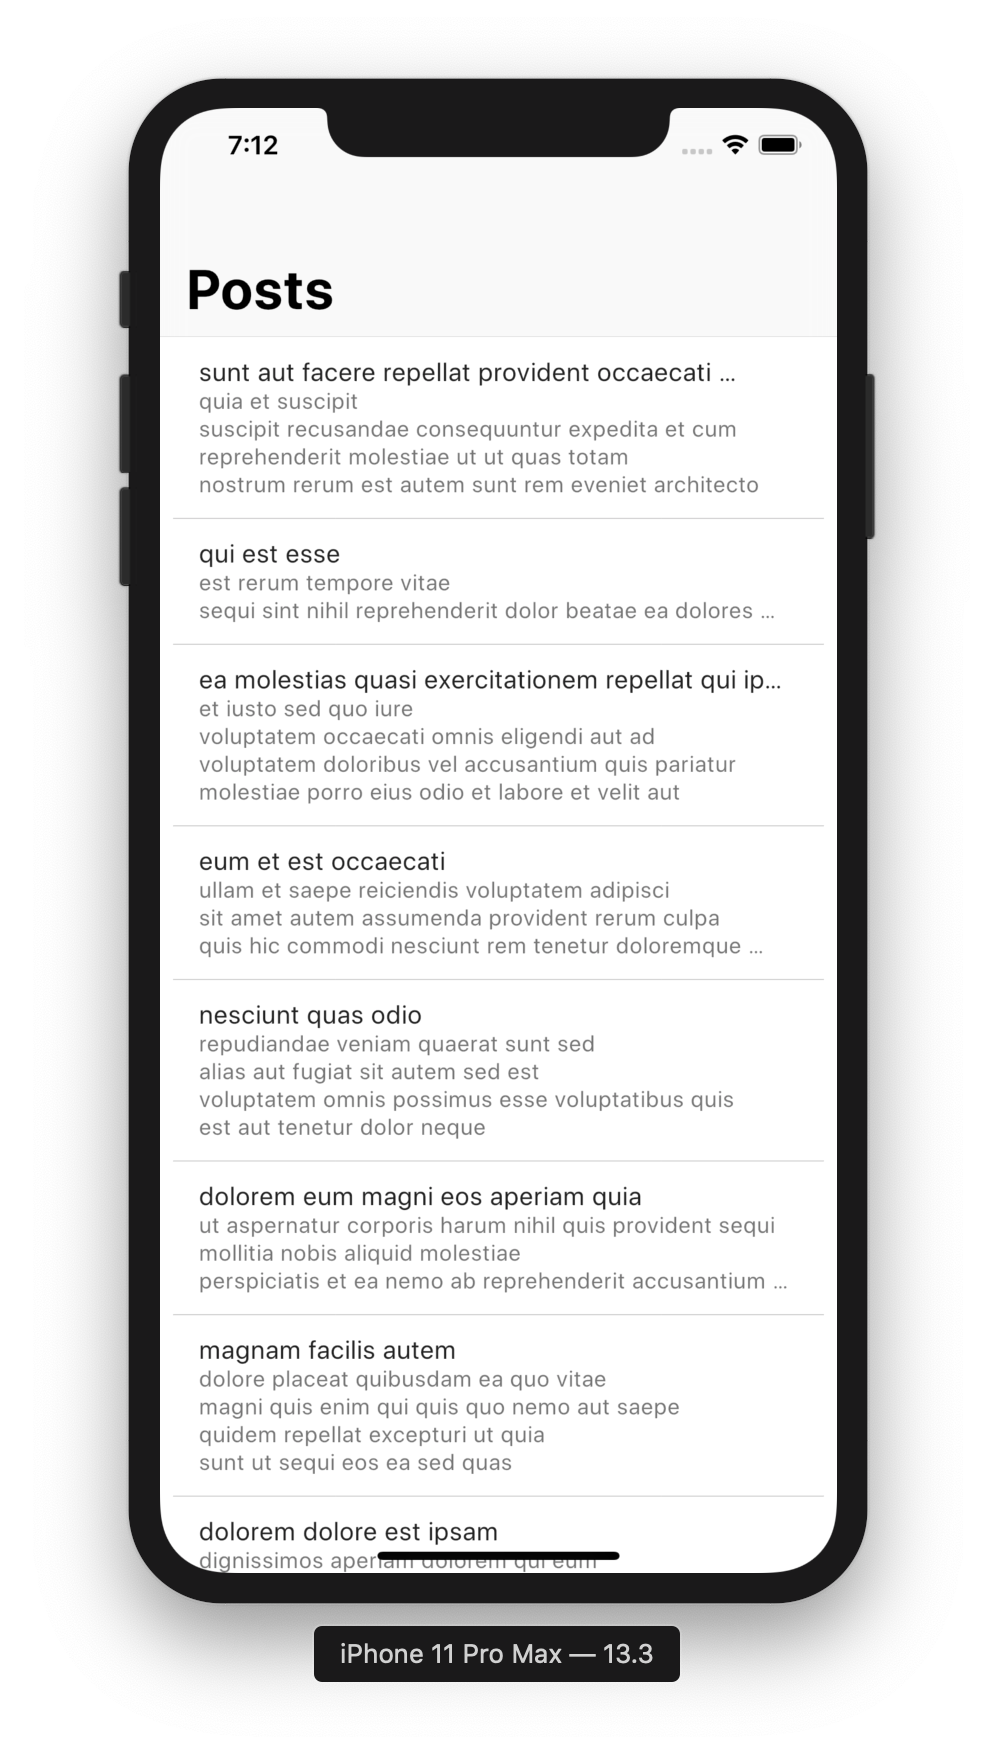
We are done! Run your application and you will see a nice progress indicator showing while the PostRepository is still busy fetching posts from our REST API. When it’s done fetching the post it will display them in a list like the one below.
Conclusion
In this post we spoke about how the http package can be used in Flutter to consume HTTP resources. We also created a sample Flutter app that makes use of the package to fetch posts from a REST API. Not all the code for the app was included in this post – you may check out the complete project from GitHub. Once again thanks so much for reading.
Comments